Welcome to Shirtsmockup.com Online Apparel PSD Mockup Shopping Store!
Jun 25, 2025 / By Nayan Ali / in PSD Mockup
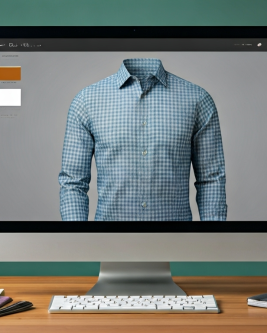
Mockups help you bring your designs to life in Adobe Photoshop. They are great if you want to show off artwork, branding, or product designs. With mockups, you can see what your work will look like in the real world. In this photoshop tutorial, you will learn how to use and change PSD mockups in a step-by-step way. The steps go from getting started to making the mockup look just how you want. It does not matter if you are a creative professional or need a sharp design for your business, this guide is easy to follow. You will be able to make good-looking, realistic mockups with less effort.
 Mockups are very important for people who want their design work to look good and professional. In Photoshop, a mockup lets you see how your artwork or brand will show up on a real product, a digital screen, or any kind of marketing material. These mockups help you look at and change your designs before using them, so everything comes out right, neat, and matches your brand.
PSD mockups are the main file type people use for this in Photoshop. They give you lots of layers to work with, including smart objects. With them, you can change things like the background color, texture, and different effects without any trouble. This gives you many ways to make the design fit your needs.
A PSD mockup is a Photoshop file that comes with layers you can edit. With it, you can turn a flat design into a real-looking preview. It will often have a smart object. This is a special layer that lets you change your artwork without hurting its quality. You will be able to use these templates to show your artwork on something like a billboard, a product, some packaging, or in a social media post.
Creators and designers like to use a PSD mockup for a few reasons. First, it makes showing your design easier. It lets others see how the final version will look on a real or digital product. Next, with smart object technology in Photoshop, you can swap out and change any artwork fast and without trouble.
Most of all, a PSD mockup helps make your design look more professional and stand out. Tools like blending modes can help your mockup look lifelike. Showing off a product design in this way also helps people picture what it will look like and lets you show off your brand or marketing in a bright and good-looking way.
Mockup designs come in several file types—PSD, JPEG, and PNG—each serving specific needs. PSD files are layered, editable templates commonly used for intricate design projects across industries. JPEGs are simple preview files, while PNGs feature transparent backgrounds, aiding light visual edits.
Here’s a breakdown in tabular format:
| Mockup File Type | Primary Uses |
|---|---|
| PSD Mockups | Editable designs for branding, merchandise, social media posts, and packaging. |
| JPEG Preview Files | Quick mockup previews showcasing design structure and general appearance. |
| PNG Mockups | Transparent designs for lightweight web mockups, icons, and overlays. |
PSD templates dominate as they suit projects requiring precision and realistic results, but JPEG and PNG files play indispensable roles in lighter editing tasks.
To get started with a mockup, make sure you have the right tools and software. You need to have Adobe Photoshop on your computer. It should be version CS6 or higher. You will also need a tool like WinZip or WinRAR to open ZIP files that come with the mockup files.
You should also know some basic Photoshop skills. These skills include working with layers and how to put your artwork into a template. With these things ready, you can look at the main tools and resources you will use for making a mockup.
To make great designs in Photoshop, it is important to have the right tools. Adobe Photoshop is the main software that people use to edit and change pictures. When you work with PSD files, it helps a lot with mockup tasks because these files keep all layers, like smart object layers, so you can change them easily. Using templates gives you a good starting point and helps save time because it makes the steps more simple. If you find the best PSD mockup templates online, you can make your artwork look better, whether you share it on social media or show it in your portfolio.
PSD mockups can be found easily on the internet. Design websites and online shops offer many good and editable templates. You can get them from these places:
Most times, you will get your mockup as a ZIP file. This file has layered PSD files, pictures showing what it looks like, and instructions about how to use it. When you pick sites that many people trust, you know the PSD mockup you download will be good for your work. This helps you get strong professional results.
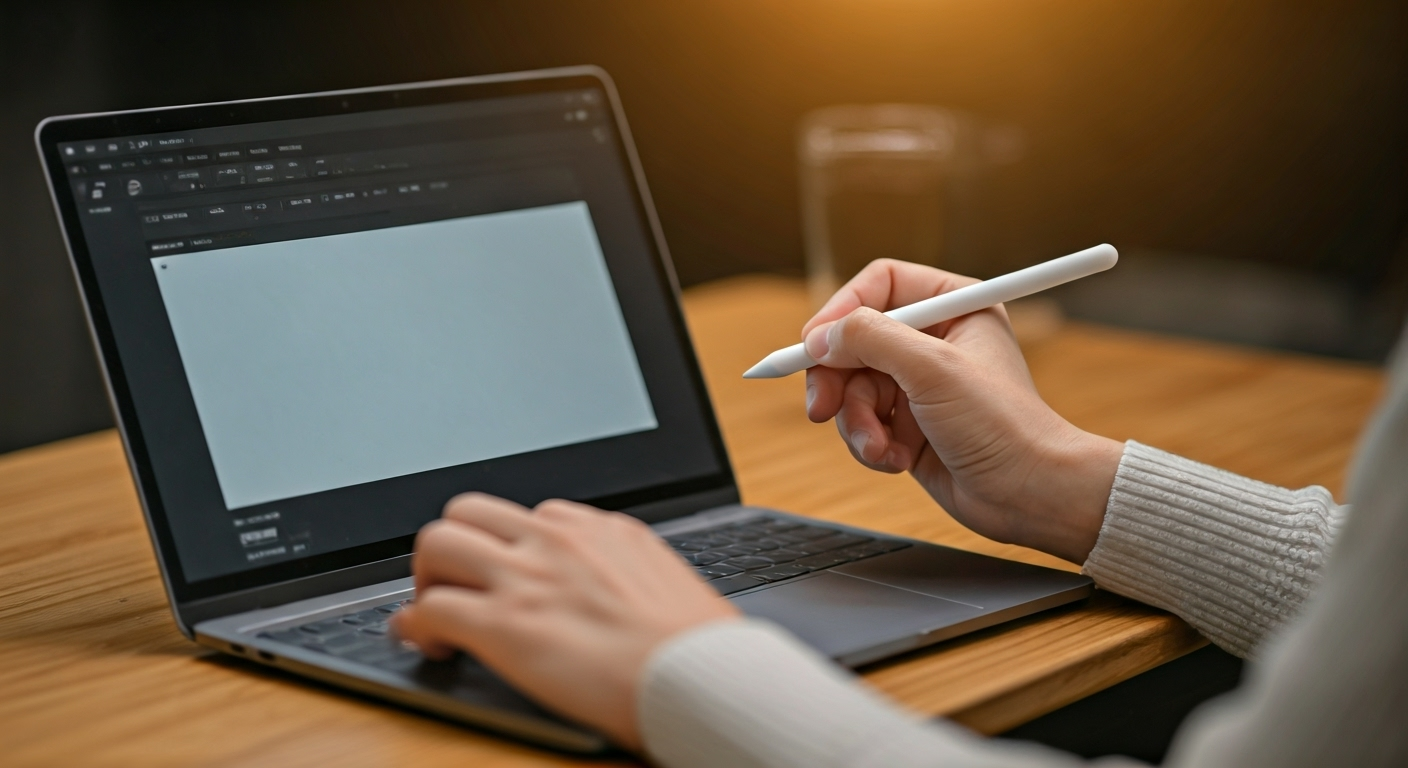 Using a mockup in Photoshop can be easy. You do not have to worry about it being hard, even if you are new. To begin, download the psd mockup that you like best. Then, use WinRAR to open the zip file.
When the mockup is ready, open it in Photoshop. Then, look for the smart object layer in the Layers Panel. From here, it will be simple for you. You just need to add your artwork, adjust the look if needed, and save or export the file. Follow each step in this guide to make a good looking mockup without getting stressed.
Every mockup project starts when you unzip the ZIP file. This ZIP file usually has PSD mockups, JPG previews, and simple user guides. Use WinRAR, WinZip, or another tool to get all the contents out.
After you unpack everything, find the PSD file and double-click it. It will open right in Adobe Photoshop so that you can edit it. The guides inside can help you with clear steps.
In Photoshop, you should go to the Layers Panel so that you set up your workspace for your design. Whether you are new or have used it before, getting all the files out of the ZIP and set up in the right way will give you an easier time when you edit your mockup.
Smart objects are a key part of any PSD mockup. To find a smart object, first open the Layers Panel. If it is not visible, press F7 in Photoshop. You will see a layer thumbnail. If this thumbnail has a small icon at the bottom right corner, that means it is a smart object.
Most of the time, these layers have names like "Your Design Here" or close to that. You can use them to edit without ruining the rest of your mockup. To open the smart object, just double-click it. Photoshop will then make a new tab for you. This tab is where you can add or change the design or artwork you want.
After you see this layer, you are ready to put your artwork or design into the mockup. With this step, you can get your work into the PSD in a smooth and easy way.
To add your artwork, double-click the smart object layer thumbnail. This will open a new tab. Here, you can put your own designs or swap out the placeholder. If you need to change the size of your design, use CTRL+T on a PC or CMD+T on a Mac.
For the best look, you should use finished designs you made in Photoshop or Illustrator. Place and resize your work in the smart object tab. Save your changes in this tab. Then close it. Your artwork will show up in the main mockup file and look new right away.
This way of using the smart object is easy to follow, helps save time, and still gives you a nice, clean design.
The background brings life to your mockup. To change this, go to the “Background_Color” layer. Next, double-click on its thumbnail. This will open Photoshop’s Color Picker. Light colors work well here. They help keep your visuals looking real when you use blending modes like “Linear Burn”.
Then, you can change how layers show up or turn on effects like Multiply. This helps to make your mockup look like it has more depth. Add textures or overlays to keep it looking smooth.
These steps help your mockup show your brand’s own style. They also make sure it stays photorealistic. Try different blending effects in Photoshop until you get the finish you want.
Saving the file is important so you do not lose your work. Use File > Save if you want to save your PSD file. If you need a PNG or JPEG file, use File > Export > Quick Export.
Before you export, take a good look at your mockup. Check to see if effects like blending look real on the image. You can also look at the JPG preview inside the zip file to see if it matches what you have made.
At this point, your work with the mockup is done. Now the mockup can be shared with others on digital or printed platforms, either as a PSD file or from the zip file.
To sum up, using mockups in Photoshop is a great way to make your artwork stand out. Mockups help you show your designs in a real and professional way. By following the step-by-step guide above, you can learn to unzip your files, find the smart object layers, and add in your own designs. Don’t forget, to make your mockup pop, you have to change the background color, turn some layers on or off, and add effects that fit your brand. With mockups, your designs get a fresh look that can really impress people. If you want to get even better, you can always look for more resources and templates that can give you new ways to show your work. Start today in Photoshop and see how your ideas can jump off the screen!
Check the mockup’s user manual or the download page. Make sure it is a PSD file. Check that your version of Adobe Photoshop can open this type of file. Most of the time, you will need Adobe Photoshop CS6 or a newer one. Tutorials will often say which versions and formats work with the mockup to help you out.
PSD mockups need Photoshop for editing, but you can use other tools like GIMP to do some simple mockup work. If you use a Mac, you can run Adobe Photoshop without any problems. This is because Photoshop works very well on Mac computers.
If you do not see it, take time to look closely in the Layers Panel. Try to find a layer thumbnail with a small icon. If you still cannot find it, you can download a new psd file. Make sure you have opened the psd file the right way, because the layers in Photoshop can be tricky. It is a good idea to pay extra attention to the thumbnail and small icon when you work in Photoshop tutorials.
Use Photoshop effects such as “Multiply” or “Linear Burn.” Change the background color to your liking. You can also fix the textures for a more finished look. Try warping your design or adding overlays. These steps help your artwork look real and blend well with the mockup’s details.
Jun 24, 2025 by Nayan Ali
Jun 15, 2025 by Nayan Ali