Welcome to Shirtsmockup.com Online Apparel PSD Mockup Shopping Store!
Sep 09, 2024 / By Nayan Ali / in Fashion
Are you a graphic designer or content creator looking to bring your designs to life? Mockups can be the perfect solution. This guide will take you through each step to use mockups effectively, ensuring that your final product is as impressive as your initial concept. By the end of this post, you'll know exactly how to use mockups to wow your clients or stakeholders.
Before you start, ensure you have all the tools to create high-quality mockups. Here's a quick checklist:
Having these tools at your disposal will make the entire process smooth and enjoyable.
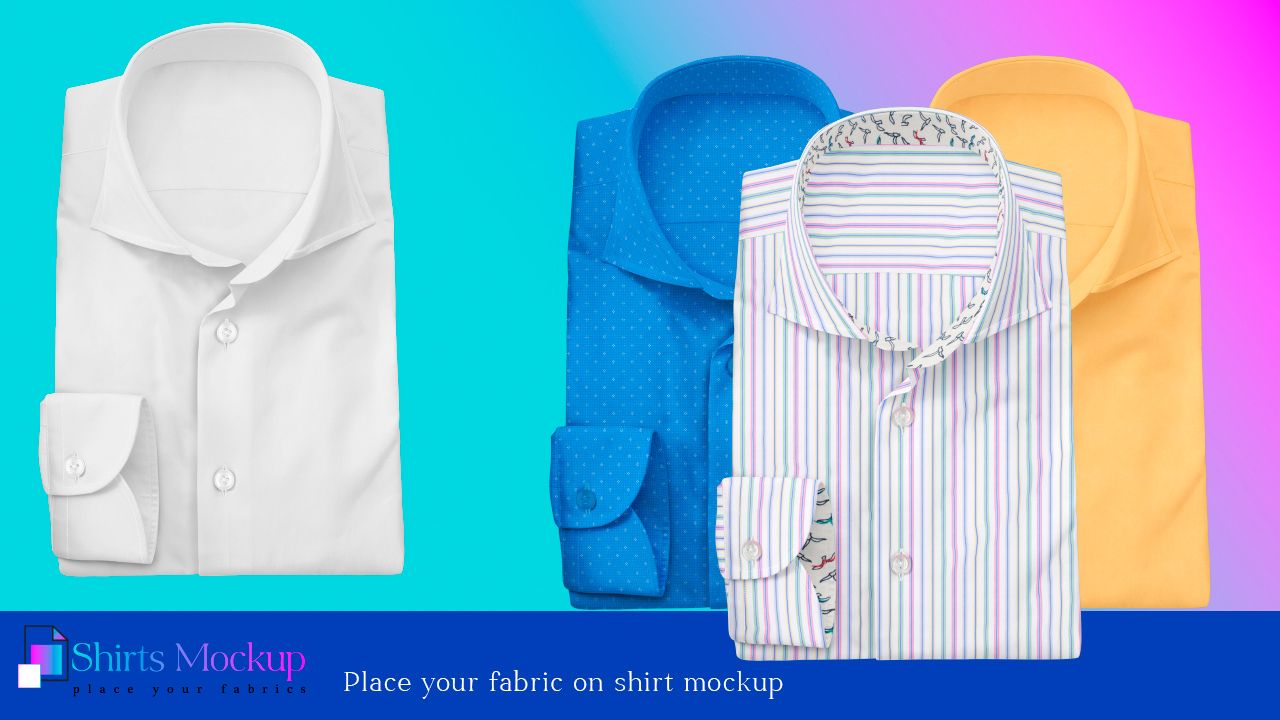
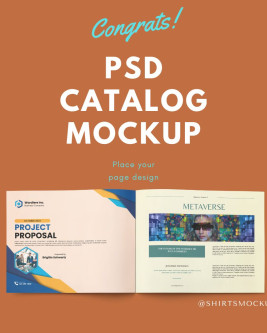
First, you need to download a PSD mockup that fits your project. Websites like GraphicRiver, Shirtsmockup, and Freepik offer a variety of free and Premium mockups for designers. Here are some tips for choosing the best one:
Once you've found the proper mockup, download it and move on to the next step.
After downloading the mockup, you'll likely receive a ZIP file. Unzip this file to access the use PSD mockup file. Here's how:
Now that you have the PSD file, it's time to read some essential information about it.
Most quality mockups come with a README file or instructions. This info helps you understand how to use the mockup template effectively. Make sure to:
Understanding this information will save you a lot of time and confusion later.
Now, it's time to open the PSD mockup file in Adobe Photoshop. Follow these steps:
Opening the file allows you to customize the mockup to fit your design vision.
Changing the background color is one of the first customizations you can make. Here's how to do it:
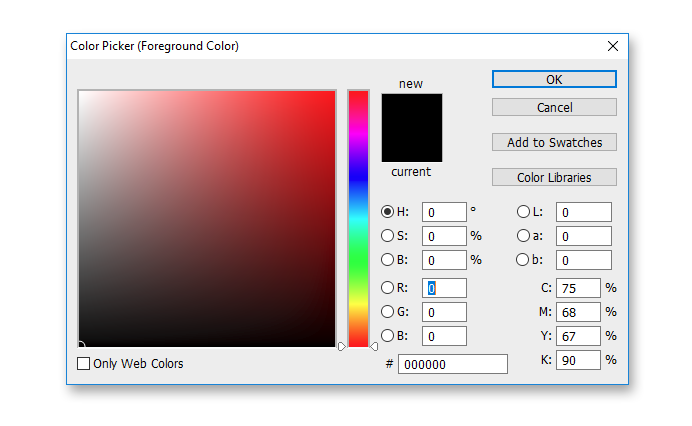
Changing the background color can dramatically impact your design, so choose wisely.
Smart Objects make it easy to replace placeholder content with your designs. To find them:
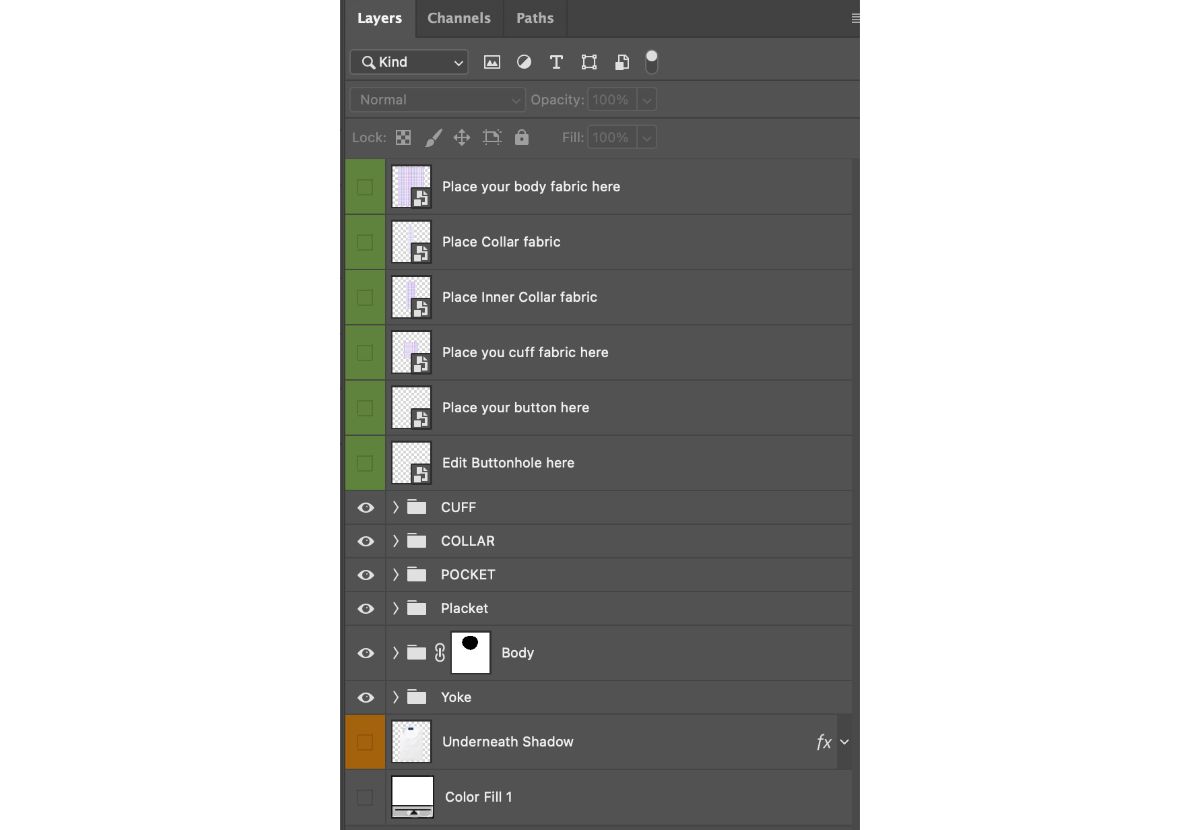
Smart Objects are crucial for a seamless mockup experience.
Now it's time to paste your design into the Smart Object layer:
Ensure your design fits well within the Smart Object before saving and closing it.
After pasting your design, save the Smart Object (Ctrl+S or Cmd+S) and close the window. Your design should now appear within the mockup. Here's how to finalize it:
Previewing the final design will give you a clear idea of how the product will look.
Mockups are an invaluable tool for graphic designers and content creators. They help you visualize your final product, making presenting ideas to clients or stakeholders easier. Following these steps, you can create professional, high-quality mockups that elevate your projects to the next level.
Ready to bring your designs to life? Practice these steps with different mockups to master the art and impress your audience. Happy designing!
Sep 16, 2024 by Nayan Ali
Sep 10, 2024 by Nayan Ali