Welcome to Shirtsmockup.com Online Apparel PSD Mockup Shopping Store!
Oct 16, 2024 / By Nayan Ali / in PSD Mockup
In today's competitive market, how your product is presented can make all the difference between intrigue and indifference. Enter the world of product mockups—a powerful tool in the hands of a savvy marketer. Product mockups visually represent your product, allowing potential customers to see it in a real-world context. This blog post will guide you through creating effective product mockups using Adobe Photoshop. You'll learn essential techniques and handy tips to enhance your business's marketing strategy.
Creating a compelling product mockup involves more than just placing an image on a backdrop. It's about capturing the essence of your product and conveying its potential to your audience. In this guide, we'll walk you through the steps of using Adobe Photoshop, a versatile tool that offers endless possibilities for customizing and perfecting your mockups. From choosing and tweaking templates to understanding the significance of mockups in marketing, we've got you covered.
Learn how to create a stunning product mockup in Photoshop for your business. Watch our quick video tutorial and upload original content to showcase your brand!
Adobe Photoshop empowers everyone to design for any merchandise, product, or marketing material. Enhance these creations by presenting them in a mockup, providing a tangible context.
Using Photoshop to craft your mockup offers numerous advantages. With the Creative Cloud Library, you can integrate branding elements from past designs, ensuring a consistent look and feel across your assets. Photoshop's extensive capabilities allow you to overlay your designs onto existing images or select from Adobe Stock to create high-quality files that vividly bring your concepts to life.
Also See>>>>How to Edit PSD Mockup File in Photoshop
Mockups visualize a design in its intended physical form, often simulating how the design will appear on its target object. They provide businesses with a cost-effective, time-saving tool for brainstorming and visualizing new ideas.

Additionally, mockups are a straightforward way to convey concepts to stakeholders. As representations of the final product, they allow stakeholders to grasp the product's form immediately. For instance, you can demonstrate how your final designs will look on a digital platform or in a physical advertising space without incurring production costs. Furthermore, mockups facilitate further edits and adjustments, ensuring your designs are unique and professional.
1. Find the right photo for your mockup
2. Open and isolate your images in Photoshop
3. Add your branding or designs to create the mockup
4. Customise colors and textures
5. Export your design


High-quality photos are essential for visualizing your designs in a mockup. Selecting the right image before creating the mockup is crucial for effectively representing your design idea in a real-world context.
Adobe Stock photos offer easy-to-use, layered files that work seamlessly with the nondestructive editing features in Adobe Photoshop. You can access Adobe Stock templates directly from Photoshop's New Document dialog box. When starting a new document, select templates with stock images instead of starting with a blank canvas. Discover more about using Adobe Stockto enhance your mockup design process.
Tip: Nondestructive editing (NDE) allows you to modify an image without altering the original data. This technique enables you to apply realistic effects to your design and customize your content while preserving the original image integrity.

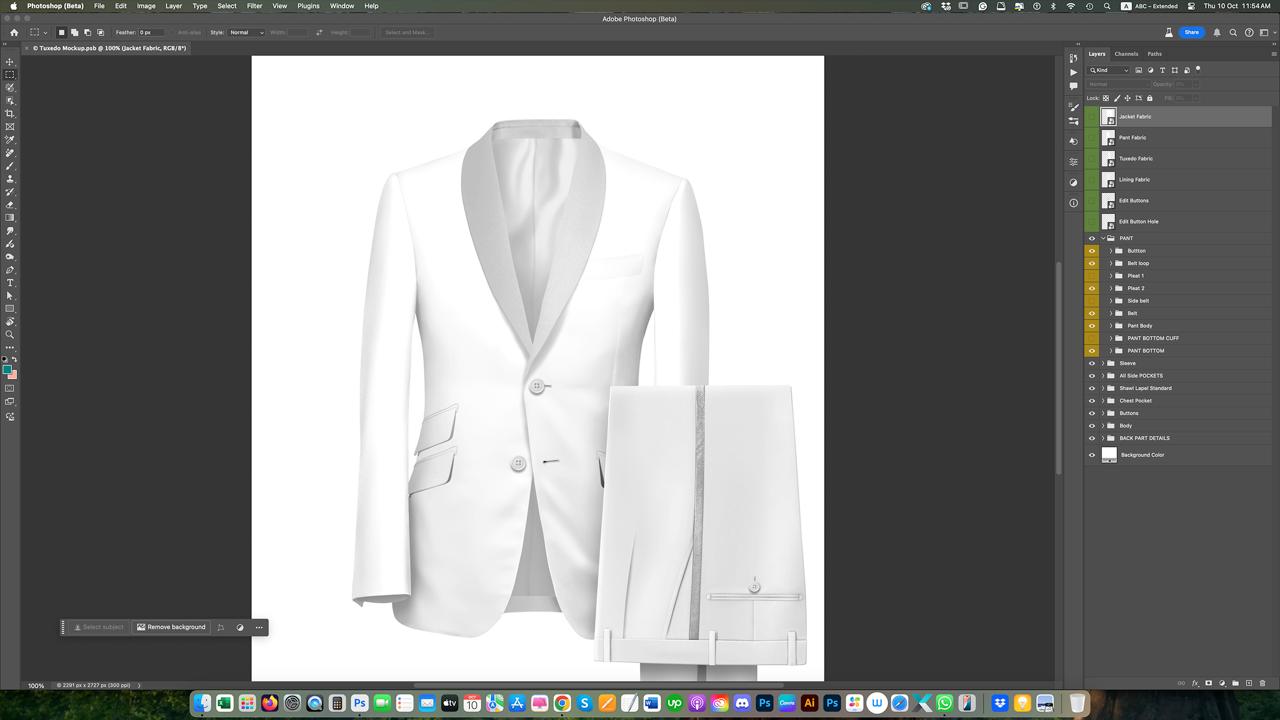
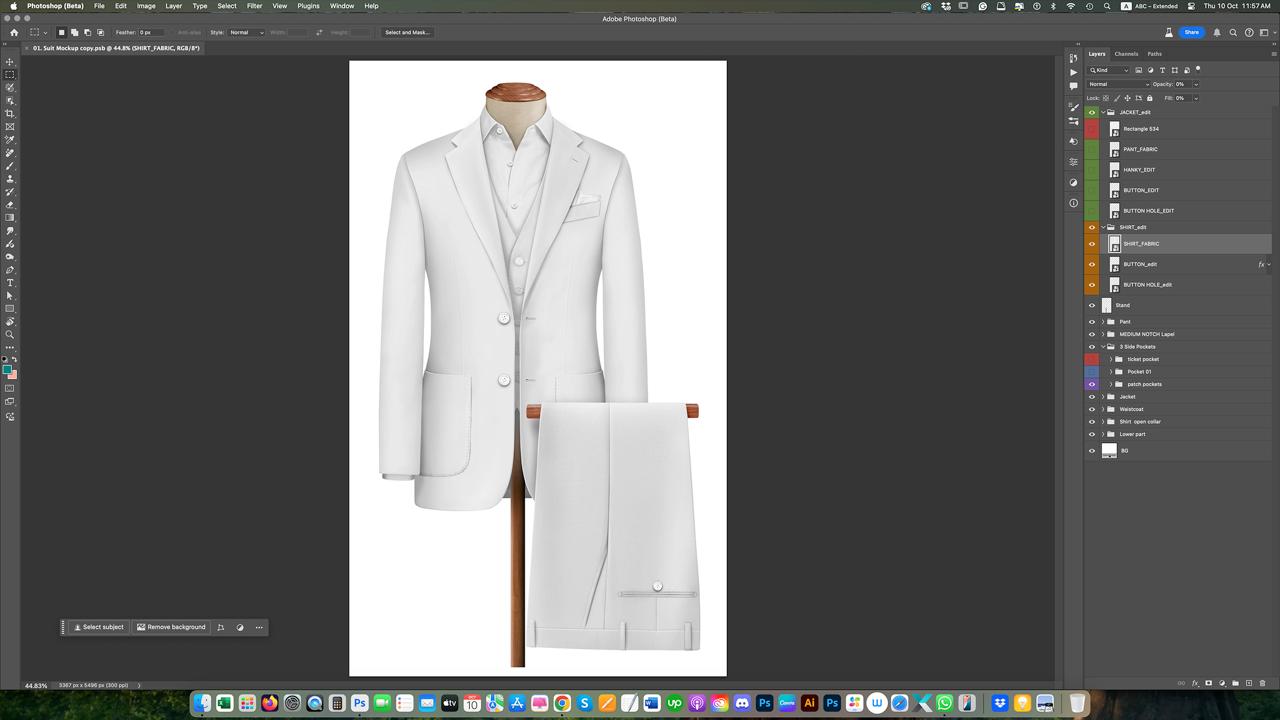
After selecting the image for your design mockup, open it in Photoshop as the background layer. In a separate layer, add your design, whether it's a logo, photo, or artwork.
With the base image and design added to your Photoshop file, crop the mockup's subject. Use the Object Selection Tool from the toolbar to select the object within the image where you want your design to appear.
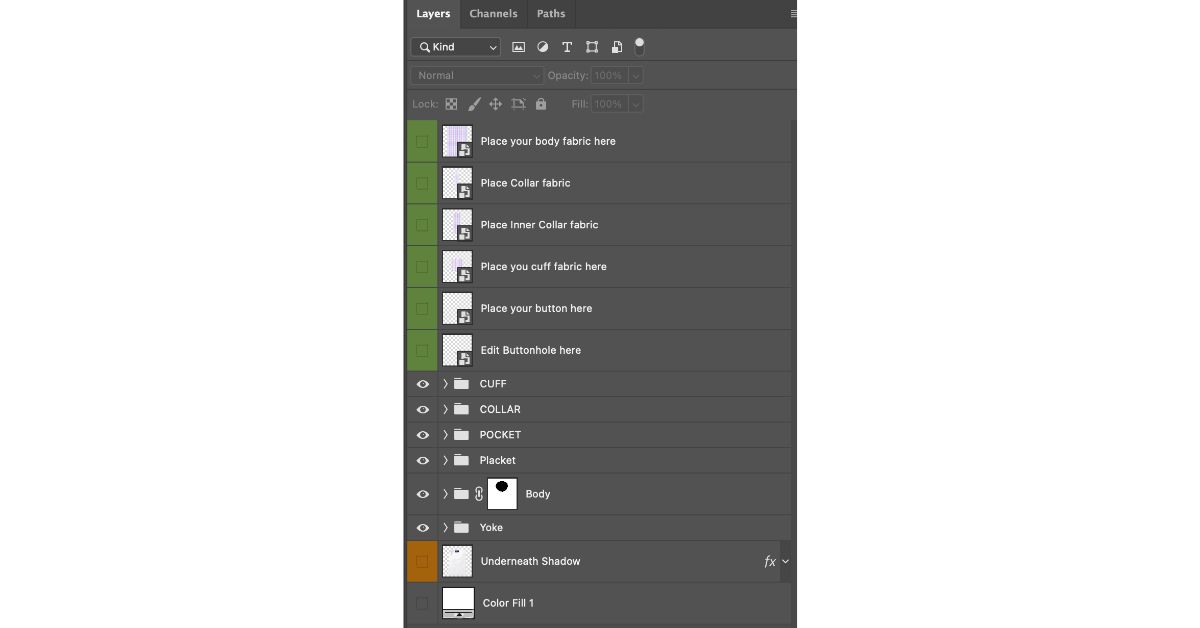
Once satisfied with your selection, create a group and name it appropriately. Within this group, establish a layer mask by clicking the mask button in the layers panel. Any element added to this group will be confined to the boundaries of the mask you created.

Import your design or logo into the group, scaling it to your desired size. You'll need to warp the design or logo to achieve a more realistic appearance, making it seem integrated with the image you're overlaying. Select the design or logo, and press CTRL+T on a PC or CMD+T on a Mac to access Transform > Right Click > Select Warp. Adjust the corner handles and grid to align, then click the checkmark to apply the changes.
To ensure your mockup appears professional and aligns with your brand:

This feature allows users to adjust mockup colors to match brand specifications or create multiple design variations efficiently, ultimately saving time and enhancing versatility.
Read More: How do you Make an Apparel Mockup in Photoshop?
To complete the final export, navigate to File > Export > Quick Export and select your desired file type, such as PNG or JPEG.
Mastering mockup creation in Photoshop is a crucial skill that enhances your ability to produce professional-looking images and visualize products in real-life contexts. This capability empowers you to design and implement your unique creations.
Creating product mockups in Adobe Photoshop is invaluable for any business looking to refine its marketing strategy. With the right techniques & attention to detail, you can create mockups that showcase your products and tell your brand's story.
We've explored the importance of mockups, walked through Photoshop's steps, and highlighted the impact of high-quality visuals on customer engagement. With this knowledge, you're ready to create compelling product mockups.Take the plunge and start experimenting with your designs today. The world of creative marketing awaits, and with it, the potential for your business to shine even brighter.
Jun 25, 2025 by Nayan Ali
Jun 24, 2025 by Nayan Ali