Welcome to Shirtsmockup.com Online Apparel PSD Mockup Shopping Store!
Sep 21, 2024 / By Nayan Ali / in PSD Mockup
Creating realistic mockups in Photoshop doesn't have to be a complicated task. With a few simple steps, even beginners can create professional-looking product images that showcase their designs effectively. This guide will teach you everything you need to know about making Adobe Photoshop mockups.
A product mockup is a digital representation of a product's appearance once it is finalized. It allows designers to see how their designs appear on various products, such as T-shirts, mugs, packaging, and more. These mockups are crucial for visualizing the end product, presenting designs to clients, and marketing purposes. Creating a product mockup in Photoshop lets you see how your designs translate into real-life objects before spending money on production.
Read More: What is a PSD File
1. Find the right photo for your mockup
2. Open and isolate your images in Photoshop
3. Add your branding or designs to create the mockup
4. Customise colors and textures
5. Export your design
The first step in creating a product mockup in Photoshop is to find a suitable photo. The image should be high-quality and relevant to the product you want to showcase. You can find stock photos online or take your own pictures if you have the necessary photography skills and equipment.
When selecting a photo, ensure the product is visible and has enough space to add your design. The better the quality of the original image, the more realistic your final mockup will look.
Once you have your photo, open it in Adobe Photoshop. If you need to crop the image to focus more on the product, use the Crop Tool from the toolbar. Click and drag to select the area you want to keep, then press Enter.
Cropping helps you remove unnecessary parts of the image, making your product the focal point. This is especially important if you are using stock photos that may contain multiple elements.
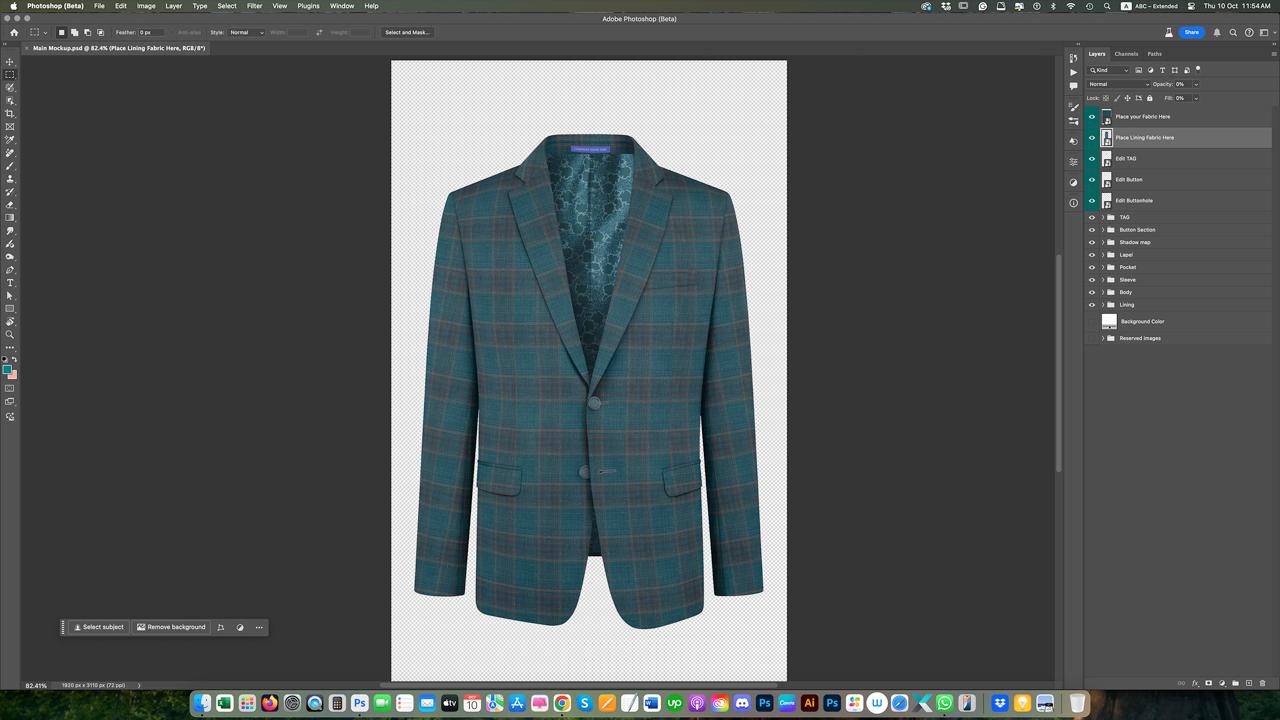
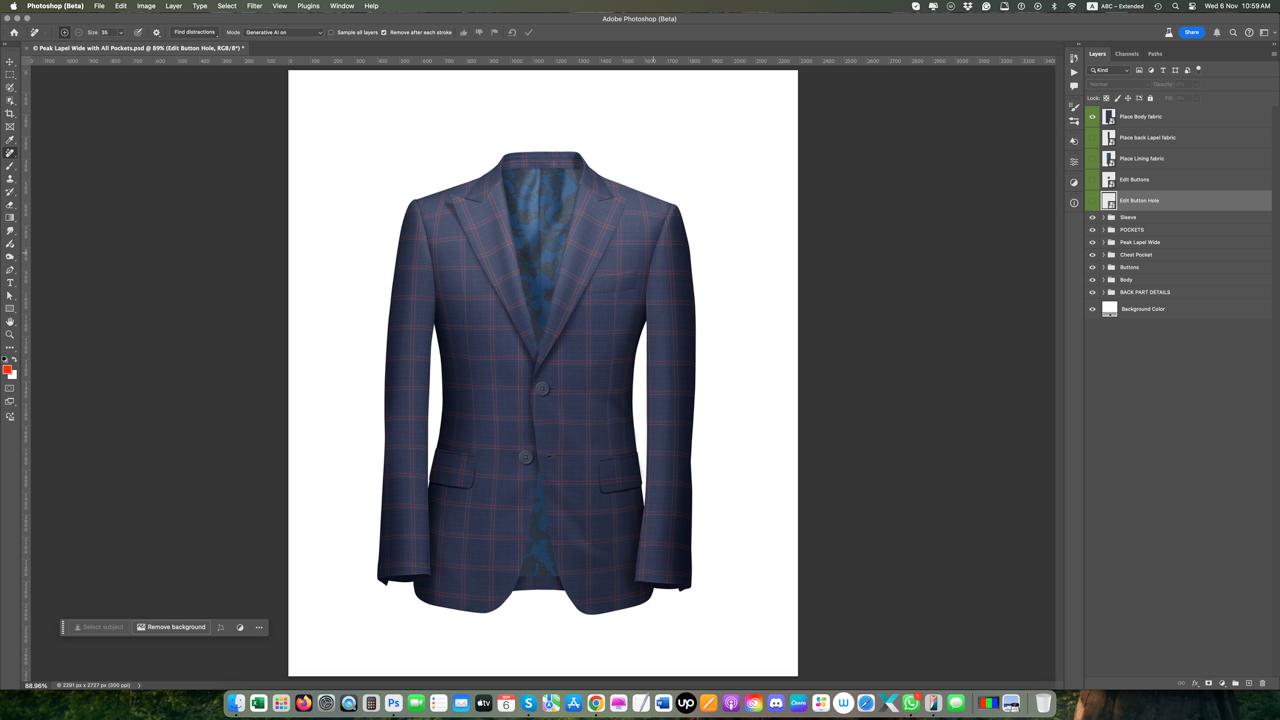
Now, it's time to add your design to the product. Use Photoshop's Smart Object feature to keep your design editable and non-destructive. To do this, create a new layer and convert it to a Smart Object by right-clicking on the layer & selecting "Convert to Smart Object."
Drag & drop your design onto the canvas. Resize and position it using the Transform tool (Ctrl + T or Command + T on Mac). Make sure it covers the desired area of the product. Use the Warp tool to fit the design perfectly on curved surfaces.
To make your mockup look more realistic, customize the colors and textures of your design. Use the Layer Styles options, such as blending modes, opacity adjustments, and layer masks. For example, you can change the layer blending mode to Multiply or Overlay to blend your design seamlessly with the product's texture.
Adjusting colors can also help match your design with the product's natural shadows and highlights, providing a more integrated look.
Once you are satisfied with your mockup, it's time to export it. Go to File > Export > Export to save your mockup in the desired format. Popular formats include JPEG and PNG, which are widely used for web and print.
Ensure that you export your mockup in high resolution to retain the quality and clarity of the design. This is essential for presenting your work professionally, whether for client presentations or marketing materials.
For those looking to take their mockups to the next level, consider using advanced techniques:
Using mockups in your workflow offers several benefits:
Several tools & resources can assist you in creating mockups:
Also See>>>> How to Use Mockups?
Creating realistic product mockups in Photoshop is an essential skill for designers. By following these steps, you can produce high-quality mockups that showcase your designs effectively. Whether you are presenting to clients, marketing your products, or simply visualizing your ideas, mockups play a crucial role in the design process. Start practicing these techniques today, & take your design presentations to the next level.
Jun 25, 2025 by Nayan Ali
Jun 24, 2025 by Nayan Ali

